 |
 |
Connecting to your personal network drive on fs1 with macOS
These instructions are for faculty and staff that use a College-provided computer with macOS.
All students, faculty, and staff at Saint Mary's College are provided with 10GB of disk space on our network to save their personal files. This space is accessible from any networked computer on campus (or a computer connected to the VPN), and is commonly referred to as a personal network drive or the H: drive.
Once you have completed these steps, you should not need to repeat them.
Checking the operating system version on your Mac
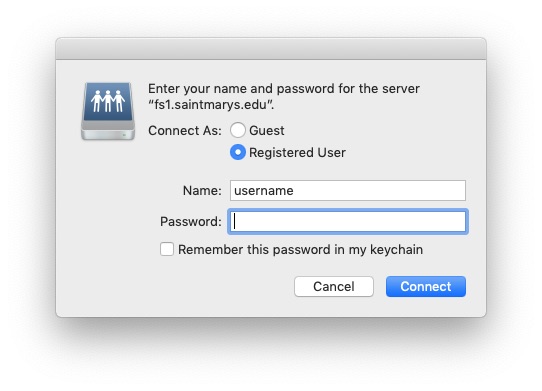
Connecting to fs1 from your College-owned Mac
If you encounter problems connecting to the new network file server (fs1)
Checking the operating system version on your Mac
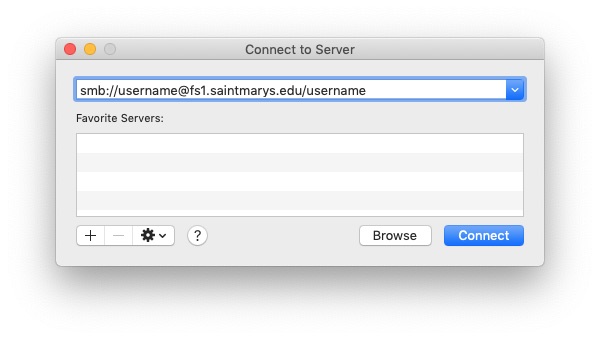
Connecting to fs1 - Instructions for computers running Mac OS X/macOS
10.12 (Sierra),
10.14 (Mojave),*
and 10.15 (Catalina):
All students, faculty, and staff at Saint Mary's College are provided with 10GB of disk space on our network to save their files. This space is accessible from any networked computer on campus, and is commonly referred to as a personal network drive or the H: drive.
If you encounter problems connecting to the network file server (fs1)
Last Modified August 2, 2020